

Firebase Hostingを使ってWEBページをデプロイする方法をお伝えいたします。
前提
- Googleアカウント作成済み
手順
https://firebase.google.com/?hl=ja
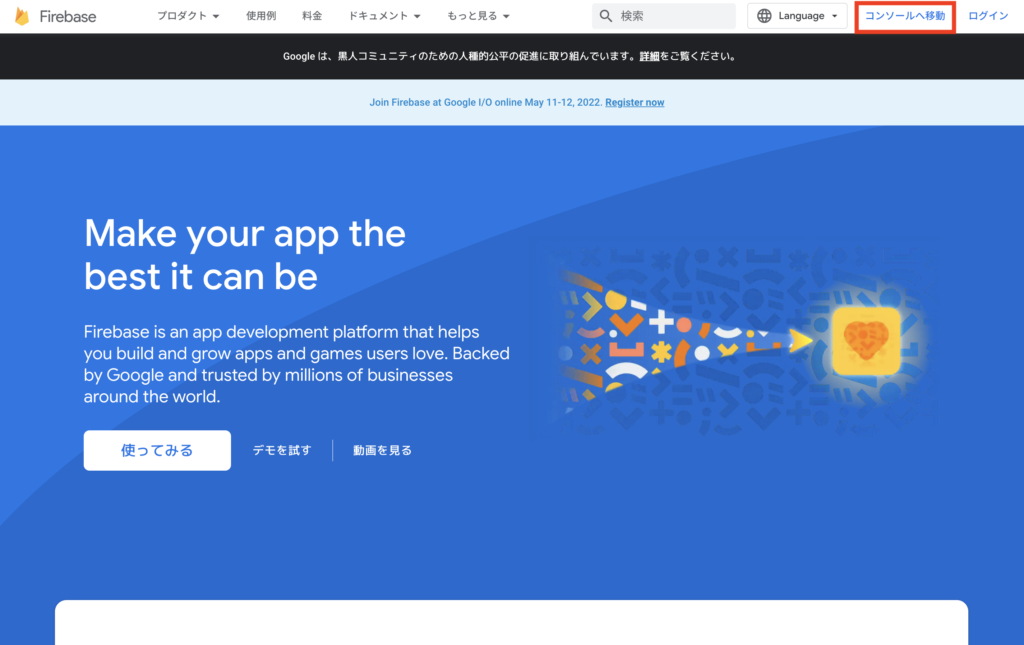
「コンソールへ移動」をクリック
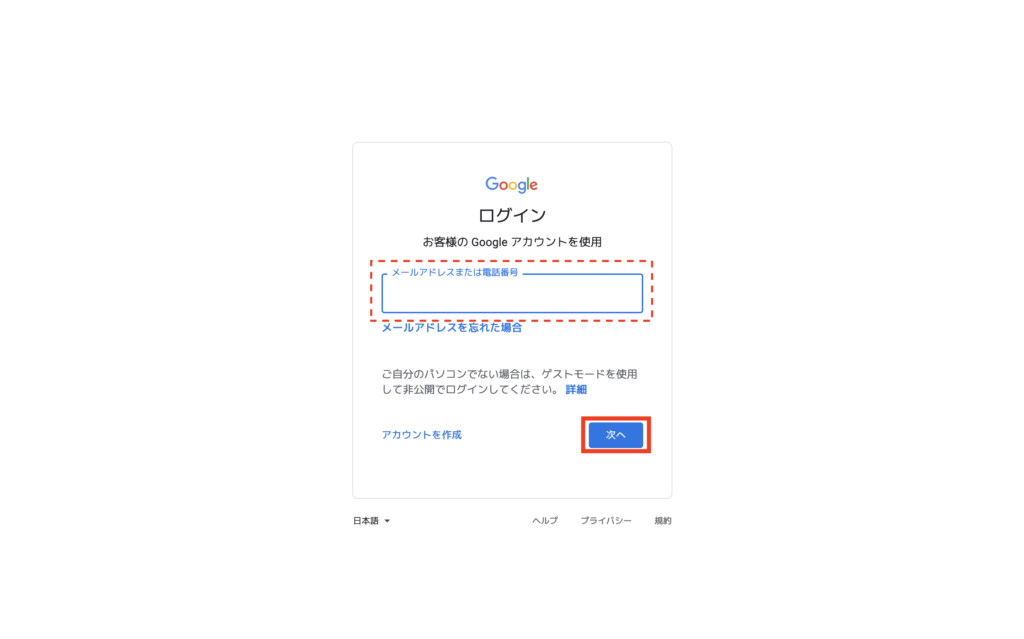
Googleのメールアドレスを入力し、「次へ」をクリック
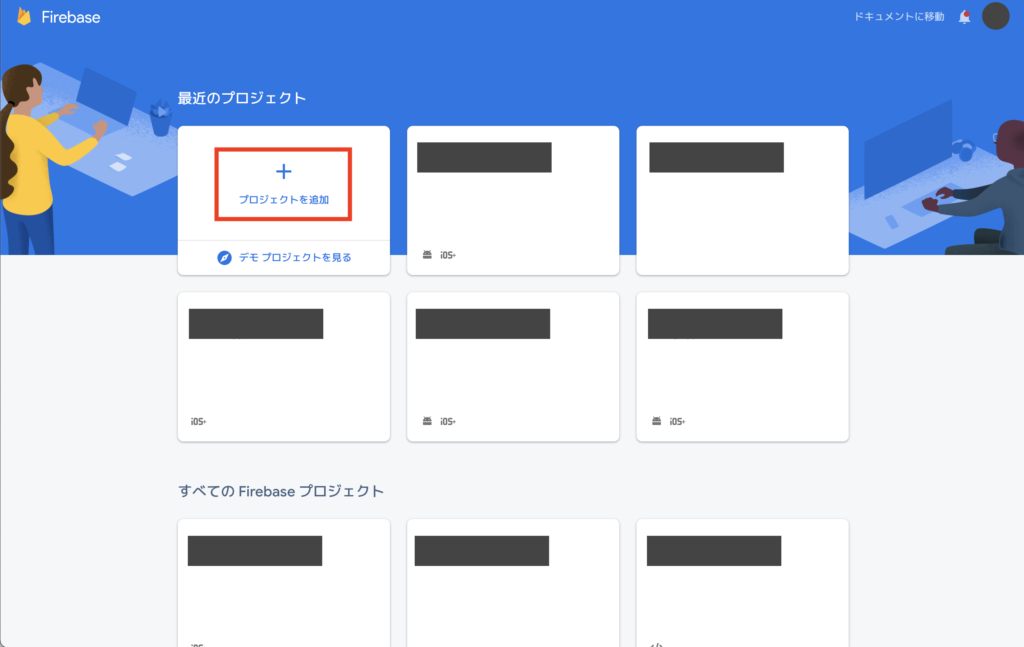
「プロジェクトを追加」をクリック

プロジェクト名を入力し、チェックボックスにチェックする
「続行」をクリック
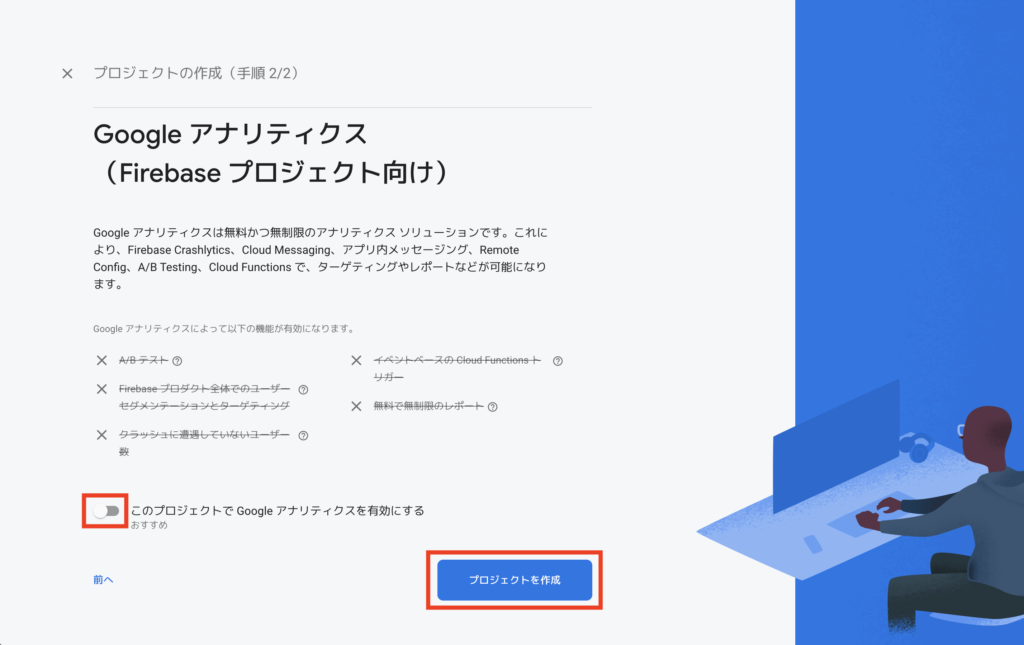
今回はHostingをするだけなので[このプロジェクトでGoogleアナリティクスを有効にする]をオフにする
「プロジェクトを作成」をクリック


「続行」をクリック

無事、プロジェクト作成完了!!
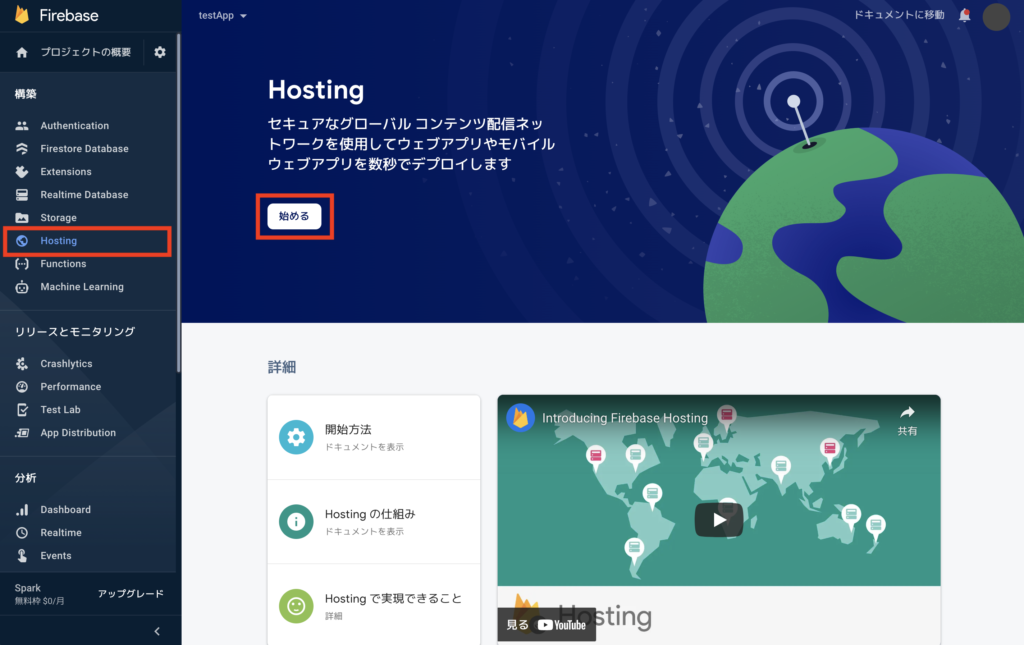
サイドバーの「Hosting」をクリックし、Hosting画面に遷移する
「始める」をクリック
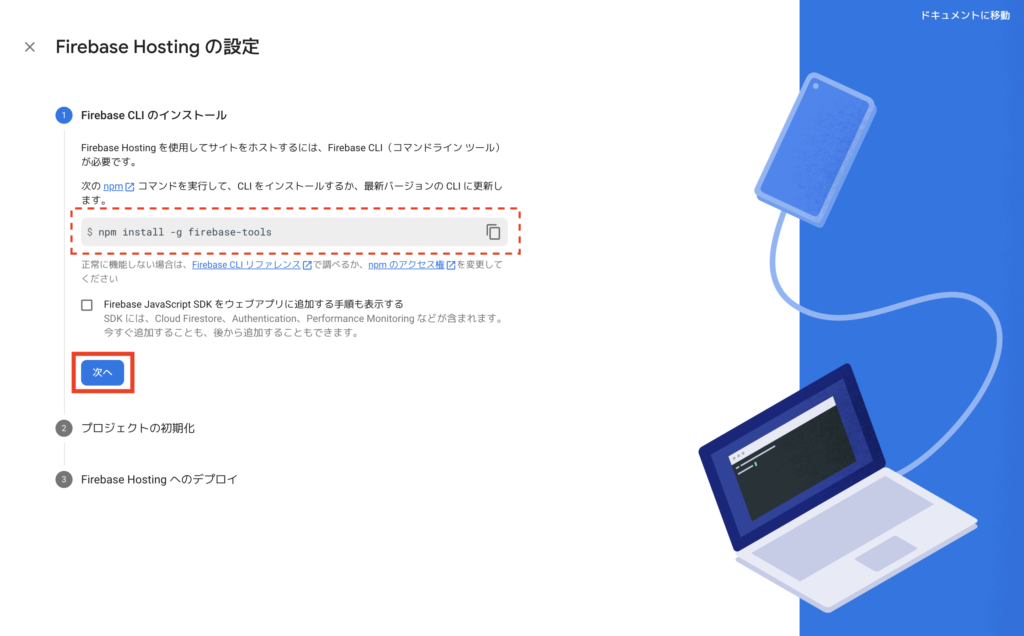
ターミナルで下記のコマンドを実行
$ npm install -g firebase-tools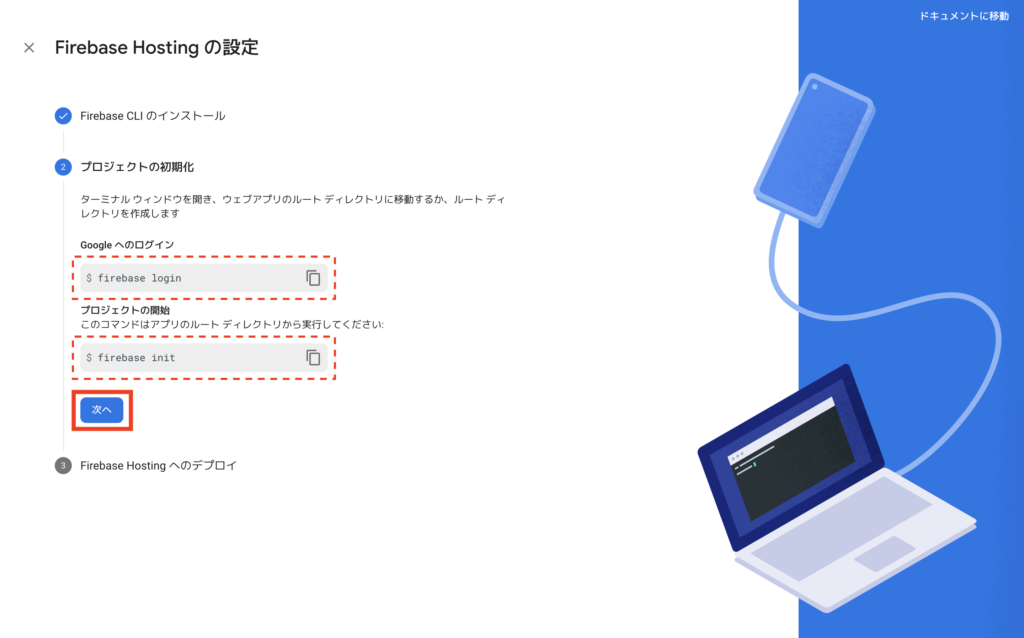
ターミナルで下記のコマンドを実行
$ firebase loginFirebaseにログインができたら下記のコマンドを実行
$ firebase init

     ######## #### ########  ######## ########     ###     ######  ########
     ##        ##  ##     ## ##       ##     ##  ##   ##  ##       ##
     ######    ##  ########  ######   ########  #########  ######  ######
     ##        ##  ##    ##  ##       ##     ## ##     ##       ## ##
     ##       #### ##     ## ######## ########  ##     ##  ######  ########

You're about to initialize a Firebase project in this directory:

  /Users/username/test

Before we get started, keep in mind:

  * You are initializing within an existing Firebase project directory

? Which Firebase features do you want to set up for this directory? Press Space to select features, then Ent
er to confirm your choices. (Press <space> to select, <a> to toggle all, <i> to invert selection)
 ◯ Realtime Database: Configure a security rules file for Realtime Database and (optionally) provision defau
lt instance
 ◯ Firestore: Configure security rules and indexes files for Firestore
 ◯ Functions: Configure a Cloud Functions directory and its files
❯◉ Hosting: Configure files for Firebase Hosting and (optionally) set up GitHub Action deploys
 ◯ Hosting: Set up GitHub Action deploys
◯ Storage: Configure a security rules file for Cloud Storage今回はHosting: Configure files for Firebase Hosting and (optionally) set up GitHub Action deploysにチェックを入れてEnter
? Please select an option: (Use arrow keys)
❯ Use an existing project
  Create a new project
  Add Firebase to an existing Google Cloud Platform project
  Don't set up a default project
Use an existing projectを選択してEnter
? Please select an option: Use an existing project
? Select a default Firebase project for this directory:
❯ testapp-602d9 (testApp)
(Move up and down to reveal more choices)上記のプロジェクト作成で作成したtestAppを選択してEnter
? What do you want to use as your public directory? public
? Configure as a single-page app (rewrite all urls to /index.html)? No
? Set up automatic builds and deploys with GitHub? No
Enterを3回押すと上記のように回答されます。
✔  Wrote public/404.html
✔  Wrote public/index.html

i  Writing configuration info to firebase.json...
i  Writing project information to .firebaserc...
i  Writing gitignore file to .gitignore...

✔  Firebase initialization complete!
Hosting デプロイするためのファイルが自動生成されます。
Firebase initialization complete!が表示されればファイル作成完了です。
下記のコマンドを実行
$ firebase deploy

=== Deploying to 'testapp-602d9'...

i  deploying hosting
i  hosting[testapp-602d9]: beginning deploy...
i  hosting[testapp-602d9]: found 2 files in public
✔  hosting[testapp-602d9]: file upload complete
i  hosting[testapp-602d9]: finalizing version...
✔  hosting[testapp-602d9]: version finalized
i  hosting[testapp-602d9]: releasing new version...
✔  hosting[testapp-602d9]: release complete

✔  Deploy complete!

Project Console: https://console.firebase.google.com/project/testapp-602d9/overview
Hosting URL: https://testapp-602d9.web.app
上記で作成したファイルがFirebase にデプロイされます。
Deploy complete! が表示されればデプロイ成功です!!
WEBページの「次へ」をクリック
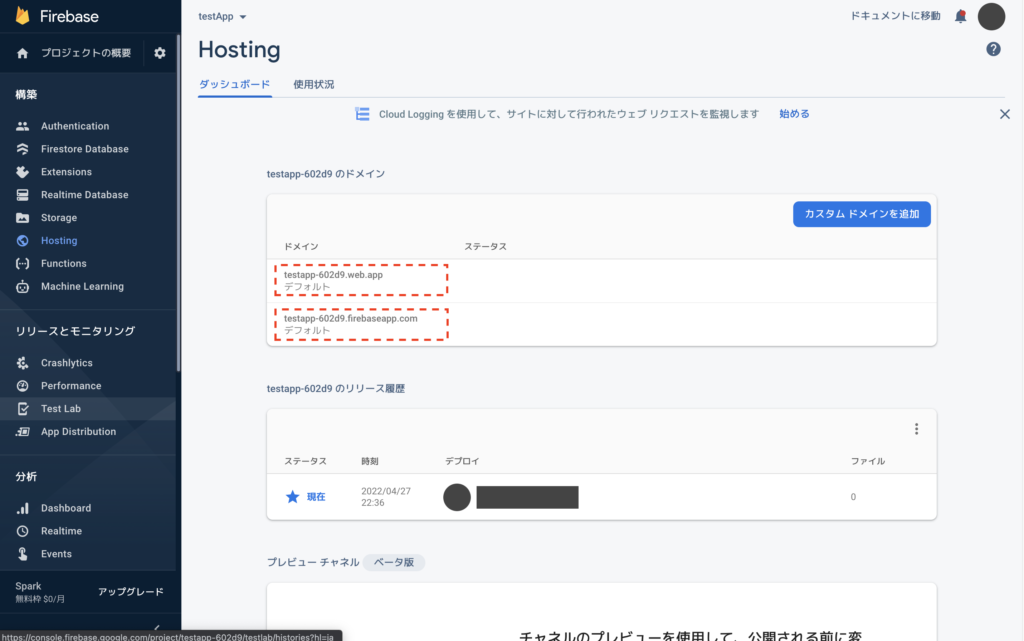
ドメインのところに2つURLが生成されます!
そのURLを開くと。。。

無事、Firebase Hostingのデプロイ完了です!!!
お疲れ様でした!!!
あとは$firebase initで作成したindex.htmlファイルを修正してデプロイすればサイトの情報は更新されます!!
最後に
最後までご覧いただきありがとうございました。
今回は、Firebase Hostingを使ってWEBページを簡単に作成する手順をお伝えいたしました。
もし、Firebaseのこんな機能などを使ったものも知りたい!などありましたらコメントお待ちしております!!